Homemade Chocolate Coconut Ice Cream: No Machine, No Problem!
Imagine a spoonful of velvety smooth, deeply chocolatey ice cream, so rich and satisfying it feels like a dream. Now imagine that dream coming true right in your own kitchen, without any fancy equipment, dairy, or refined sugars. Sound too good to be true? Not at all! We're here to show you how to create the most incredible chocolate coconut milk ice cream – an indulgent treat that caters to your health goals, your budget, and your massive sweet tooth, all without an ice cream maker.
For many of us, the post-dinner craving for something sweet is a familiar battle. While wholesome foods are a daily staple, sometimes only a truly decadent dessert will do. The trouble often starts when dietary needs or health goals come into play. Perhaps you've had to navigate the world of dairy-free options due to sensitivities, or maybe you're simply looking to reduce your intake of processed ingredients. This quest often leads to specialty store aisles, where a small pint of dairy-free ice cream can carry a surprisingly hefty price tag. It's enough to make you wonder if sustaining your sweet tooth relationship is even financially viable.
The good news? You absolutely can! Our journey to the perfect homemade chocolate coconut milk ice cream began with a similar dilemma – a need to go dairy-free, a love for creamy desserts, and a gasp-inducing sticker shock at the grocery store. What followed was a delightful (and delicious) period of experimentation, culminating in a recipe that delivers on taste, texture, and convenience. Get ready to transform a few humble ingredients into an irresistible dessert that will leave you feeling giddy with excitement.
The Sweet Secret to Dairy-Free Decadence
The beauty of this chocolate coconut milk ice cream lies in its elegant simplicity and the power of its core ingredient: full-fat coconut milk. If you've ever had to eliminate dairy from your diet, you know the struggle of finding satisfying alternatives that don't compromise on flavor or texture. Many commercial dairy-free ice creams can be icy, bland, or loaded with obscure stabilizers and sweeteners.
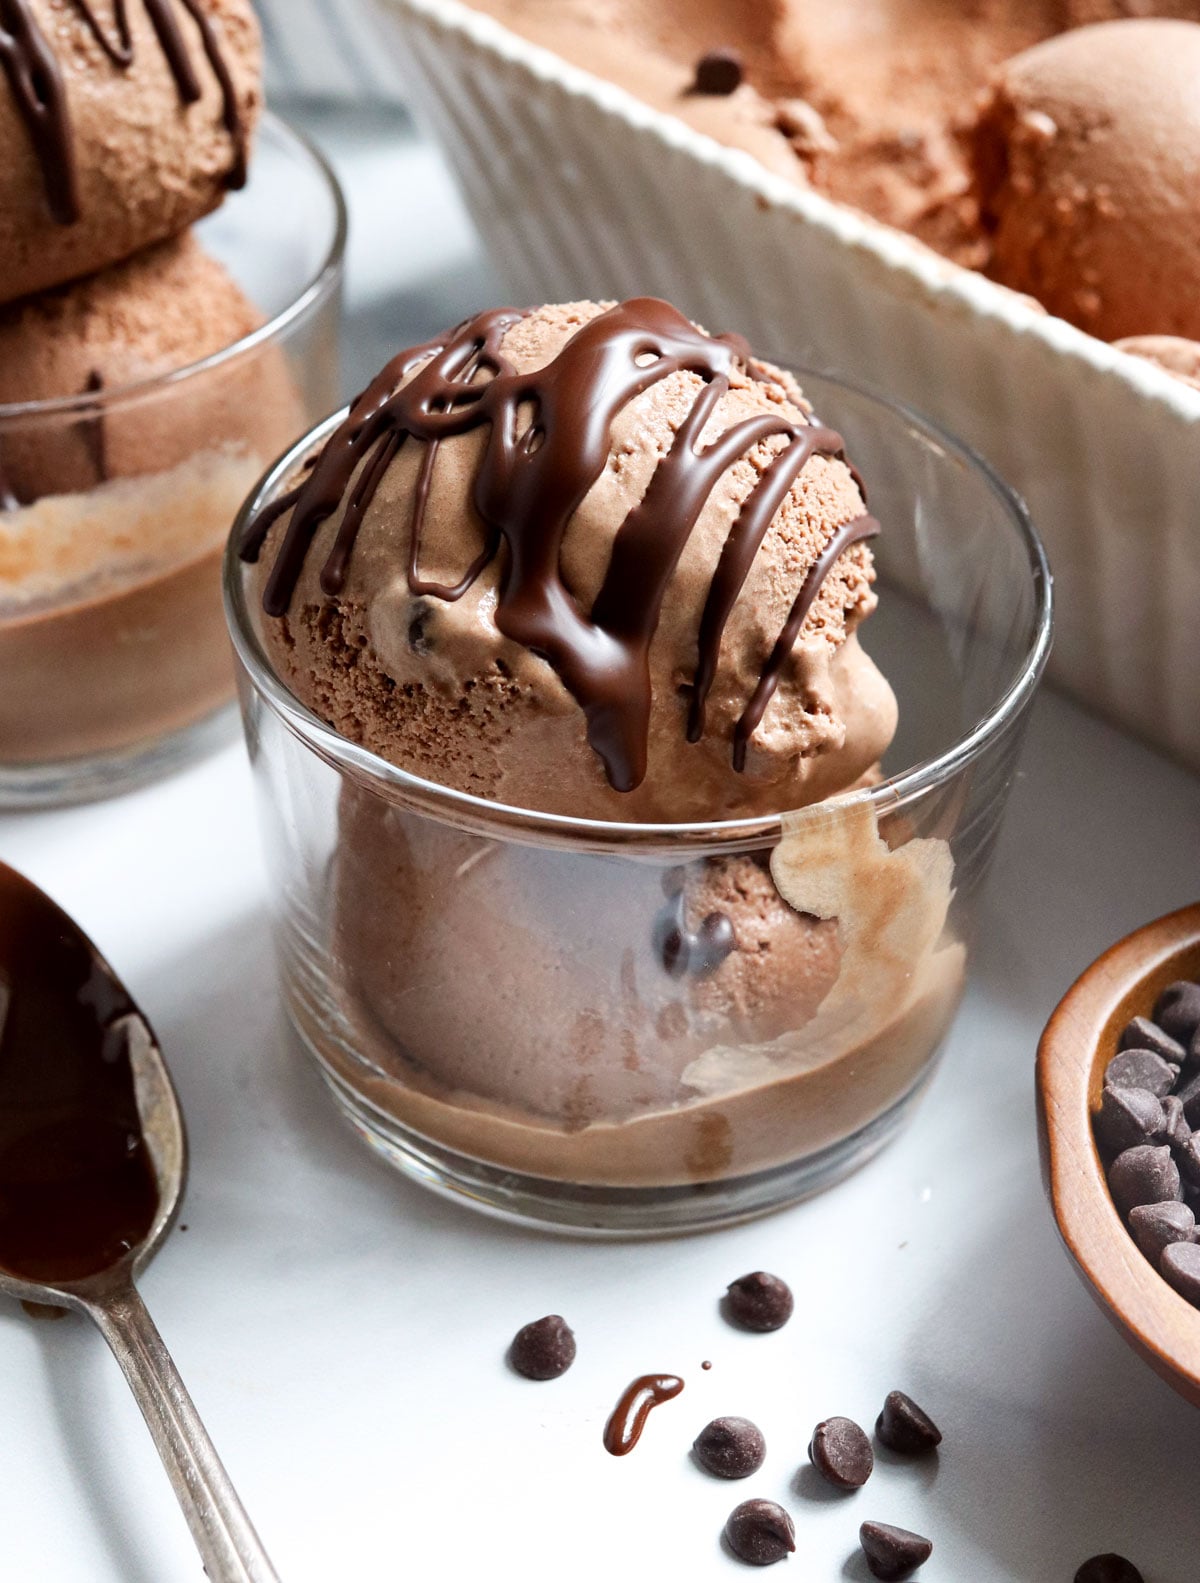
Our solution bypasses these issues entirely. Coconut milk, particularly the full-fat variety, is a marvel. It naturally provides an ultra-creamy, luxurious texture that rivals traditional dairy-based ice creams. This means no heavy cream is required, making it perfect for those with lactose sensitivity or following a plant-based lifestyle. Beyond its creamy magic, this recipe is also naturally sweetened, typically with maple syrup, which contributes a lovely depth of flavor without the need for refined sugars. You get all the indulgence, none of the guilt, and a deep chocolate punch that stands up to any ice cream parlor treat.
This commitment to natural ingredients not only supports a healthier lifestyle but also ensures a purer, more authentic taste experience. The rich, robust flavor of cacao powder combined with the subtle sweetness of maple syrup and the tropical undertones of coconut milk creates a harmonious blend that is simply irresistible.
Crafting Your Creamy Dream: The Simple Ingredients
You truly won't believe how just a handful of everyday ingredients can transform into something as luscious and scoopable as homemade chocolate coconut milk ice cream. Each component plays a vital role in achieving that unforgettable texture and flavor. Here’s what you’ll need:
- Full-Fat Canned Coconut Milk: This is the undisputed star of our show. It's the secret behind the super creamy, non-icy texture. Always opt for full-fat, unsweetened coconut milk found in cans, not the cartons typically used for beverages. For best results, chill your cans of coconut milk in the refrigerator overnight. This helps the cream separate from the water, allowing you to scoop out the thick, rich cream for optimal texture.
- Cacao Powder: For that deep, pure chocolate flavor that elevates this dessert from good to extraordinary. Cacao powder is less processed than cocoa powder, retaining more nutrients and providing a more intense, slightly bitter chocolate essence that balances beautifully with the sweetness.
- Natural Sweetener: Maple syrup is often the preferred choice, offering a delightful sweetness with subtle caramel notes. It's an unrefined sugar that contributes to the ice cream's smooth texture without any grainy aftertaste. Other options like agave nectar or even dates (blended thoroughly) can also work, allowing you to tailor the sweetness to your preference.
- A Touch of Vanilla Extract (Optional but Recommended): A splash of vanilla enhances and deepens the chocolate flavor, adding another layer of complexity to your chocolate coconut milk ice cream.
- Pinch of Salt (Optional but Recommended): Just a tiny pinch can make a world of difference, intensifying the chocolate and balancing the sweetness.
The beauty here is in the quality of these simple ingredients working in harmony. There's no need for an extensive list; pure deliciousness comes from these foundational components.
No Machine? No Problem! Achieving Unbeatable Texture
This is where many people assume homemade ice cream becomes complicated. But fear not! You absolutely do not need an ice cream maker to create divinely creamy chocolate coconut milk ice cream. The key lies in understanding how to manage ice crystal formation, which is what gives store-bought ice cream its smooth mouthfeel. While an ice cream maker constantly churns to break up these crystals, we can achieve a remarkably similar result with a little patience and a freezer.
There are two primary methods for making no-machine ice cream, each with its own advantages:
The "Undisturbed" Freeze Method
This is the simplest approach and perfect if you're looking to enjoy your ice cream on the same day. After blending your ingredients into a smooth mixture, pour it into a freezer-safe container. Place it directly into the freezer and leave it undisturbed for about 3-4 hours. When freshly made this way, it will have a consistency similar to soft-serve – delightfully creamy and easy to spoon. It's the quickest path to instant gratification.
The "Stirred" Method for Ultimate Creaminess
If you're planning to store your chocolate coconut milk ice cream for a day or more and desire an even creamier, less firm texture, the stirred method is for you. This involves a little more active participation but is well worth the effort. Once your blended mixture is in its freezer-safe container, place it in the freezer. Then, set a timer and stir the mixture vigorously with a fork or whisk once every hour for the first three to four hours. This regular stirring helps break up ice crystals as they form, resulting in a significantly smoother and creamier final product that "ripens" beautifully over time, much like its machine-churned counterparts.
A Note on Consistency and "Ripening"
Because homemade chocolate coconut milk ice cream lacks artificial stabilizers and additives found in commercial brands, it will naturally freeze harder when fully solid. Don't worry, this is a sign of its purity! To achieve that perfect scoopable consistency, simply let it rest on the counter for 5-15 minutes (depending on room temperature and how long it's been frozen) before serving. This allows it to soften slightly, reaching its optimal texture and flavor. Think of it like a fine wine needing to breathe – a brief moment of patience rewards you with unparalleled decadence.
Elevating Your Homemade Indulgence: Tips & Tricks
Once you’ve mastered the basic chocolate coconut milk ice cream, the world of customization opens up. Here are some ideas to make your homemade treat even more special:
- Add-Ins: Fold in some miniature chocolate chips, toasted shredded coconut, chopped nuts (like pecans or almonds), or even a swirl of your favorite nut butter during the last hour of freezing (if stirring) or just before serving.
- Flavor Boosters: A dash of espresso powder can deepen the chocolate flavor without making it taste like coffee. A hint of cayenne pepper creates a delightful "Mexican hot chocolate" twist.
- Serving Suggestions: This ice cream is fantastic on its own, but it also pairs beautifully with fresh berries, a warm brownie, or a drizzle of your favorite caramel or hot fudge sauce. It also makes an incredible base for a dairy-free milkshake!
- Storage: Store your homemade ice cream in an airtight container in the freezer for up to two weeks for optimal freshness. While it will still be edible after that, the texture may start to degrade.
- Scaling: If you're experimenting or just want a small batch, the recipe can easily be cut in half without affecting the outcome.
For even more insights into creating the perfect dairy-free treat, explore our articles on Luxuriously Creamy: Easy Dairy-Free Chocolate Coconut Ice Cream and Naturally Sweetened Dairy-Free Chocolate Ice Cream: Guilt-Free Bliss.
Conclusion
The journey to homemade chocolate coconut milk ice cream is one of delightful discovery. It's proof that you don't need expensive equipment or artificial ingredients to create something truly exceptional. This recipe offers a solution that is kind to your body, your wallet, and your cravings. Whether you're dairy-free, health-conscious, or simply seeking a deeply satisfying dessert, this no-machine marvel promises pure, irresistible decadence in every scoop. So, gather your ingredients, clear some space in your freezer, and prepare to embark on a sweet love affair with your new favorite homemade treat. Enjoy the bliss!
